


Designer: Dreamy Wool
- Regular
- £2.99
- Sale
- £2.99
- Regular
- £4.99
Sold Out
- Unit Price
- per
SKU
y-dw-csc-chu-sil-100
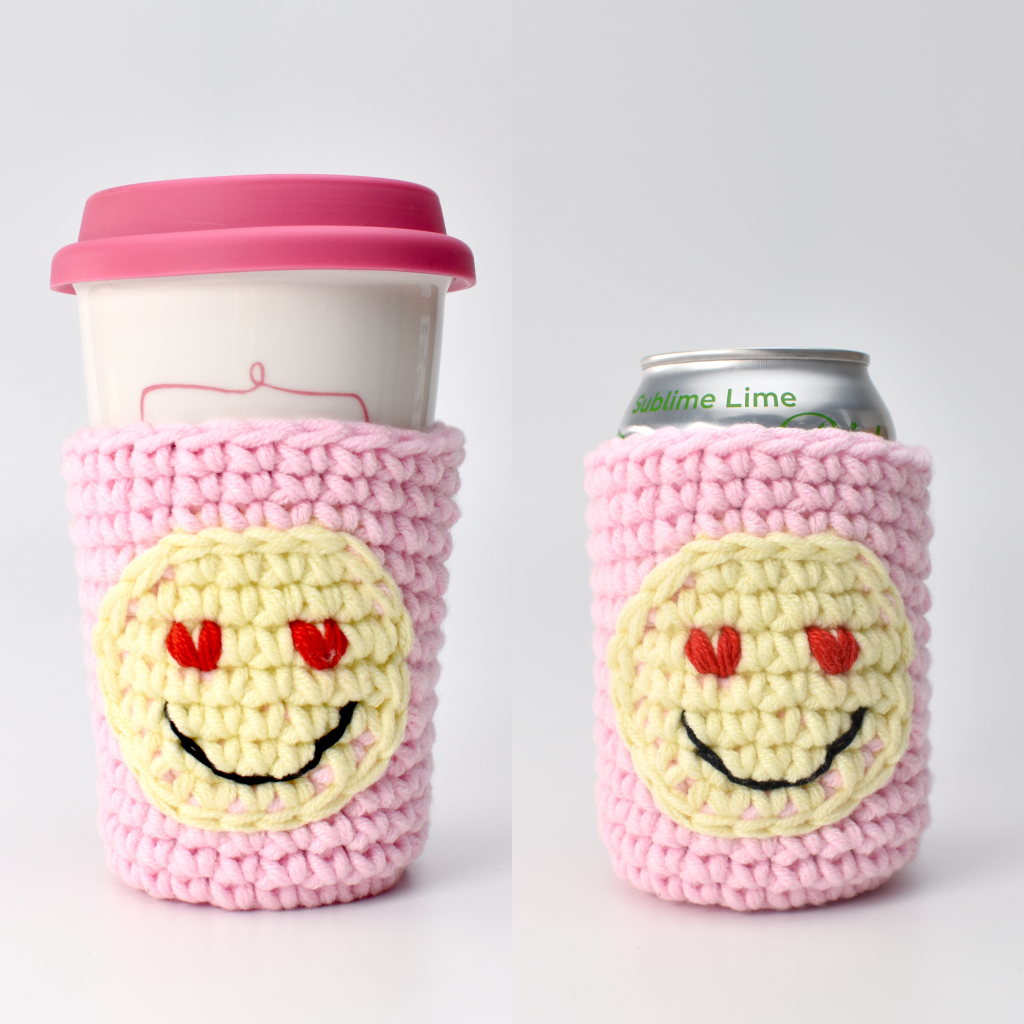
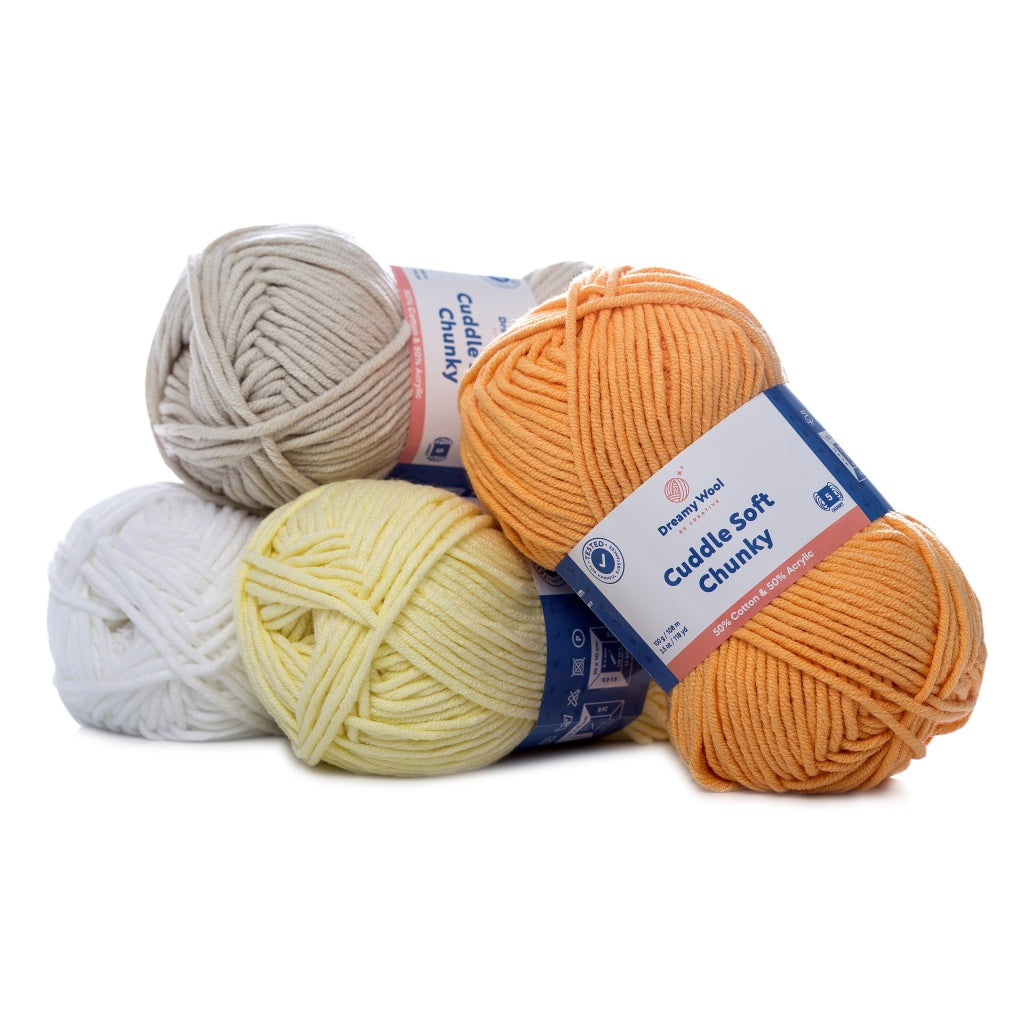
Our Dreamy Wool Cuddle Soft Chunky Cotton & Acrylic blend yarn is perfect for all sorts of cup and can cosies.
The crochet cosy made with our yarn is stretchy so it will fit various sizes of cans, bottles and cups.

Cosies are super easy and quick to make, so they are perfect for making that last-minute gift.
They can keep your hands from being cold when you drink from a cold can of pop straight from the fridge or keep your hands cool when you drink a hot coffee from your travel mug.
IDEAS:
Use the pattern for a plain can cosy and surface slip stitch the first letter of the name of the person you are making it for. I did those can holders for my friends this Christmas.

SIZE:
Flat: 13 cm x 11 cm (5” x 4.5”)
Sides height: 10 cm ( 4”)
Circumference (on the outside of the cosy): 25 cm (10”)
Diameter: Around 8 cm (3”)
MATERIALS:
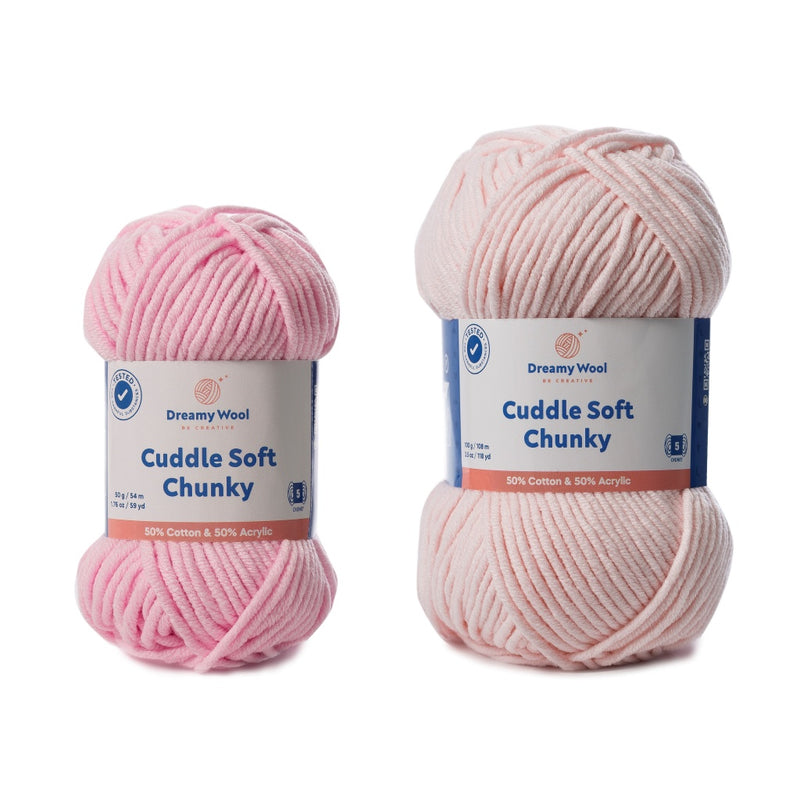
Yarn weight: Chunky / Size 5 / 12-14 Ply
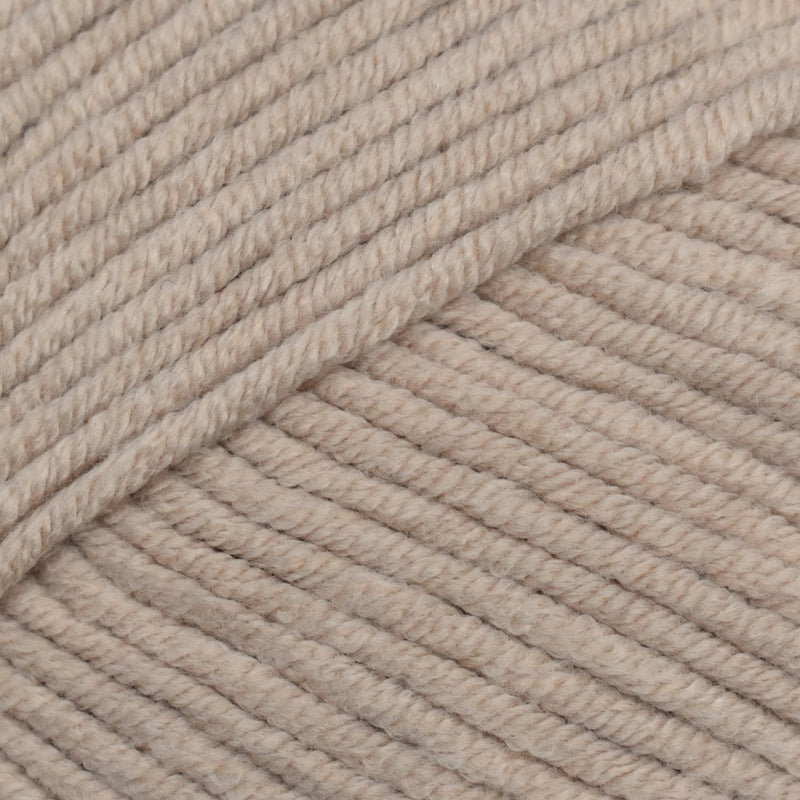
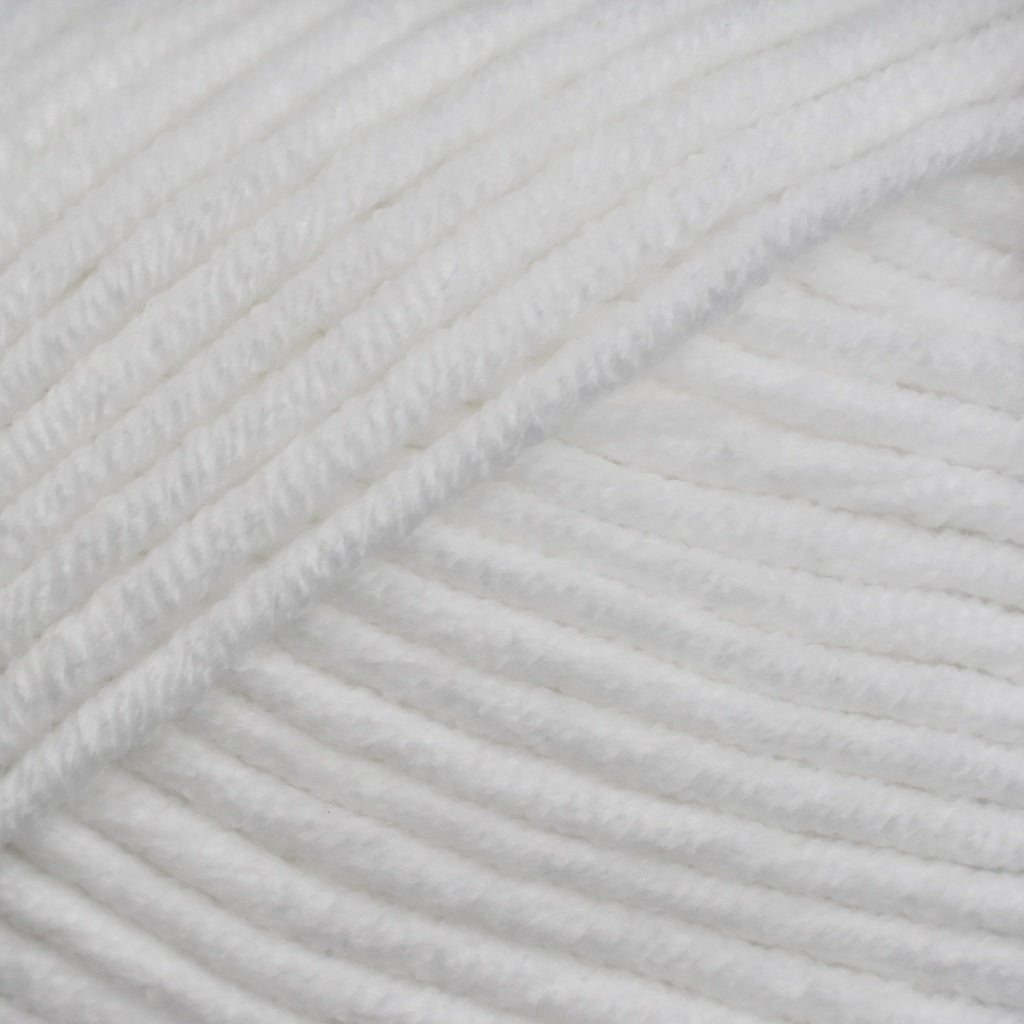
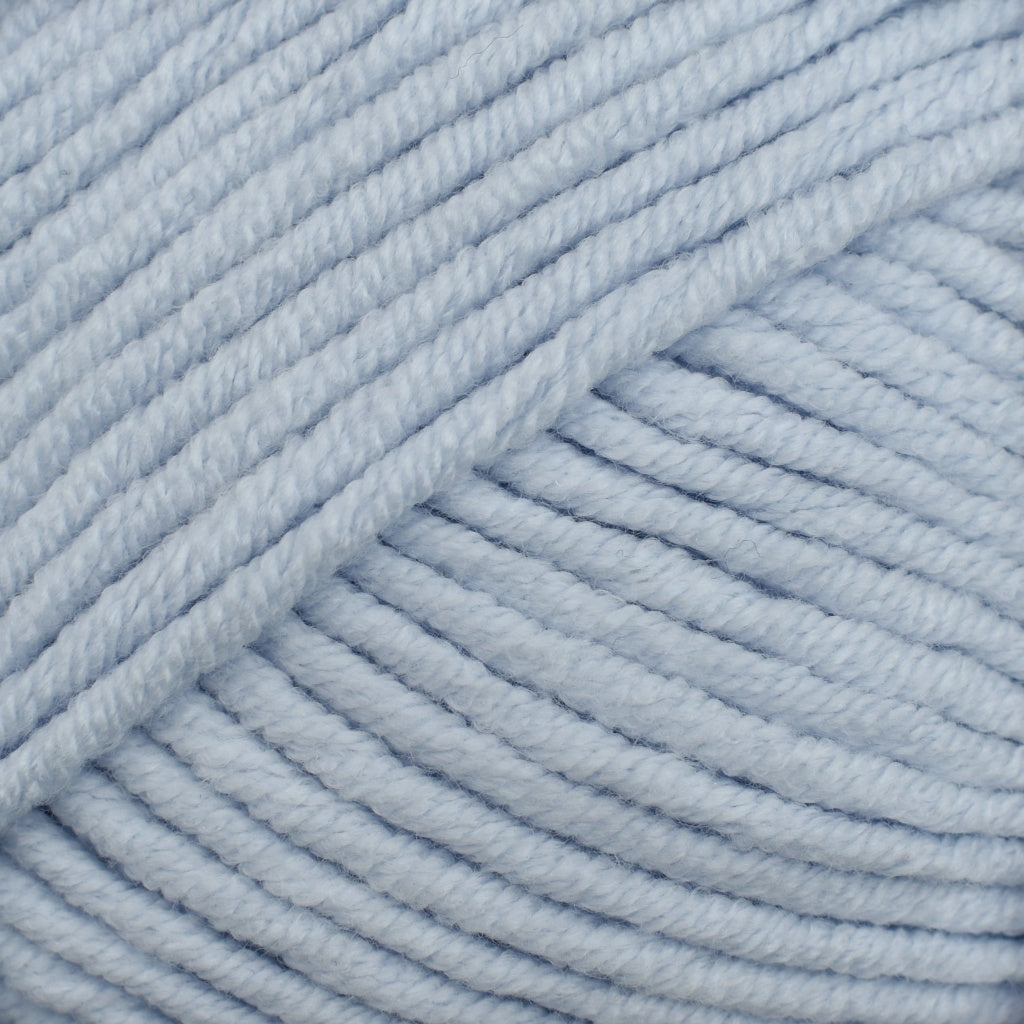
Yarn: Dreamy Wool Cuddle Soft Chunky Yarn
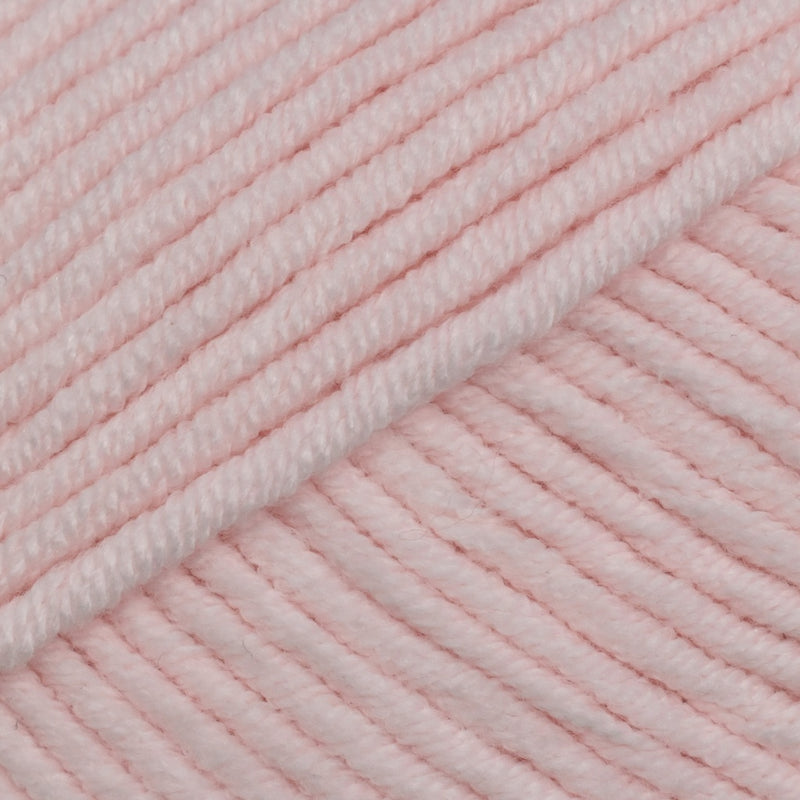
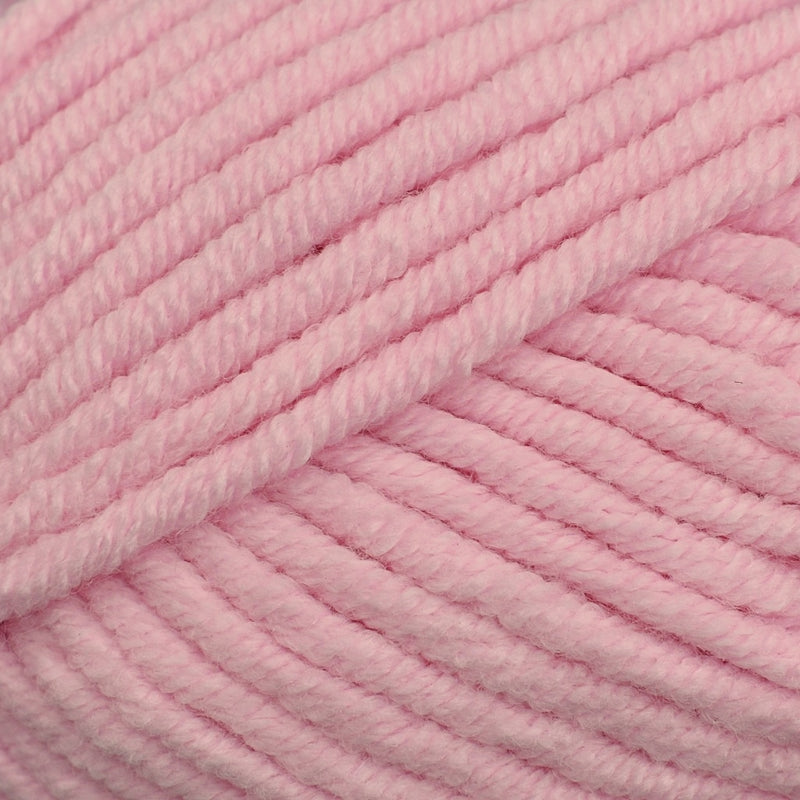
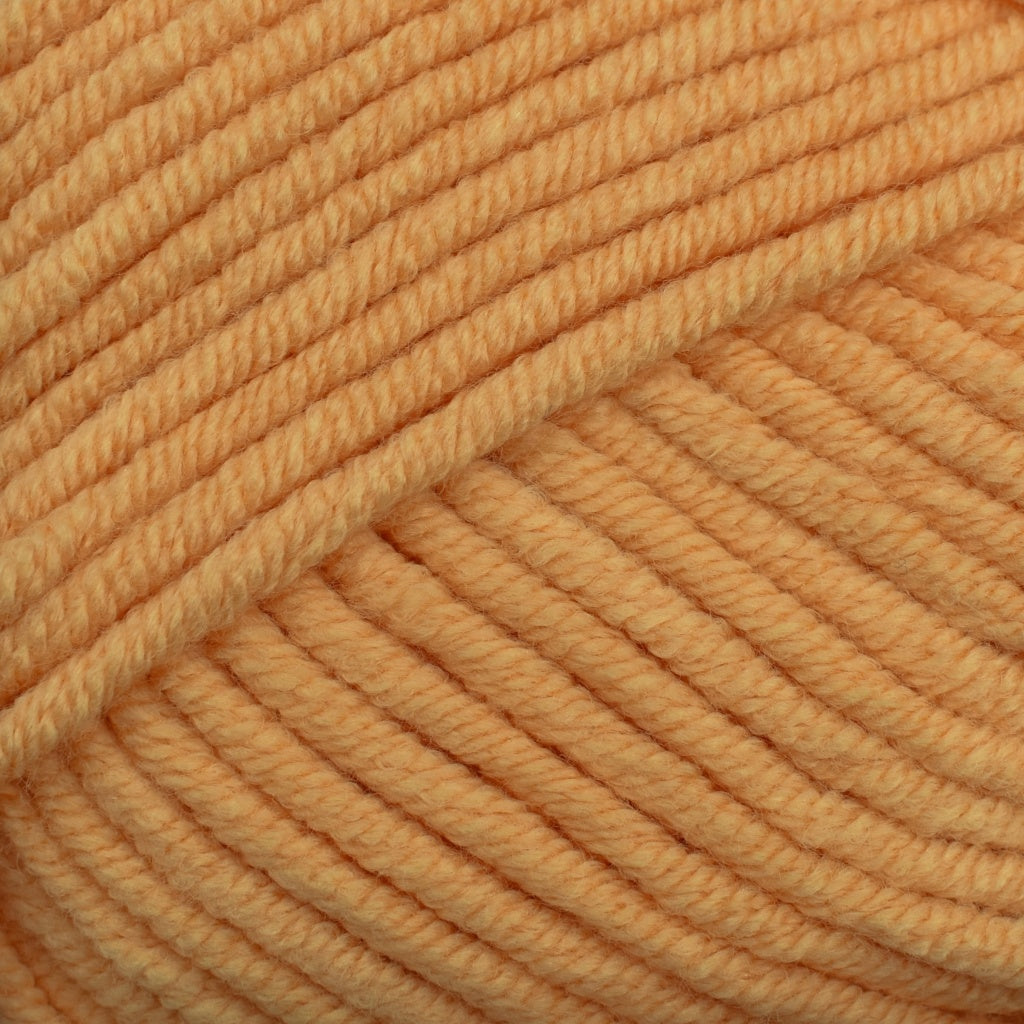
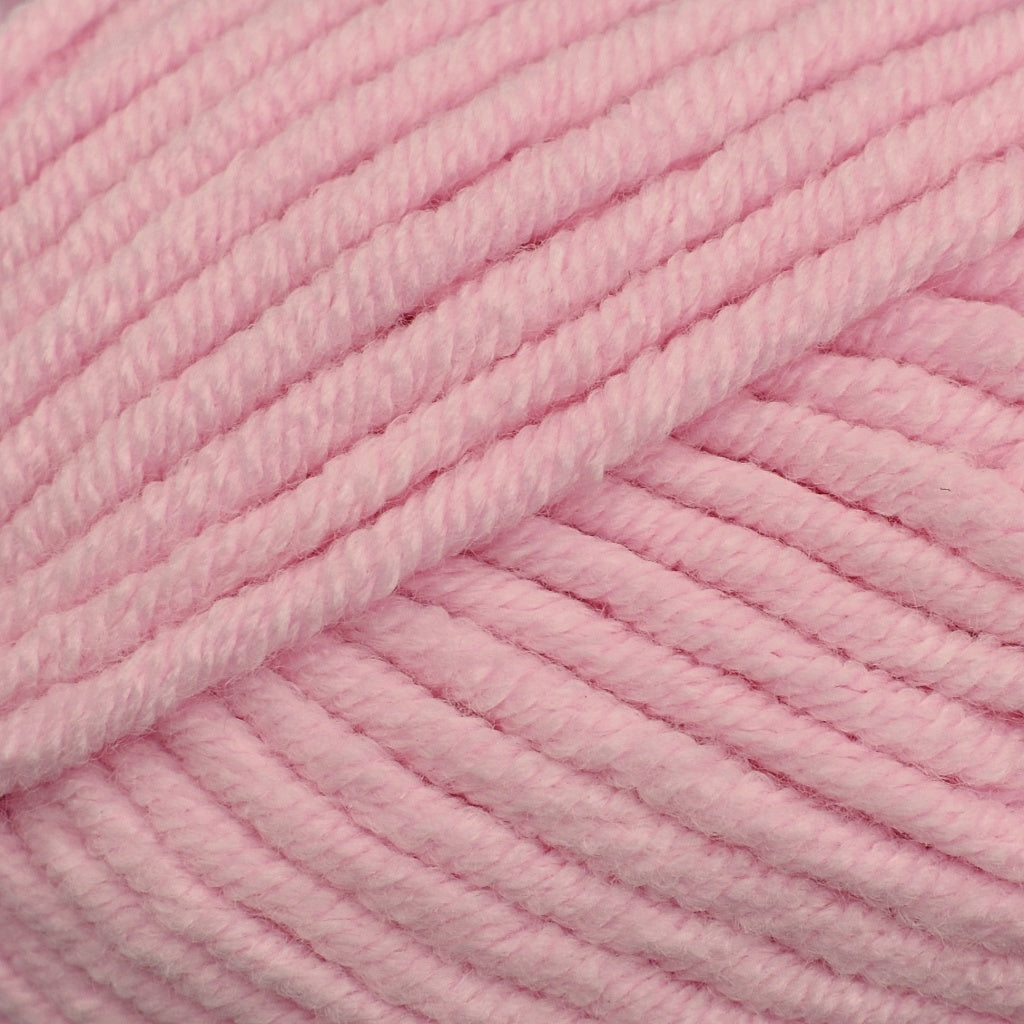
25 meters of Candy Floss Colour - 23 g
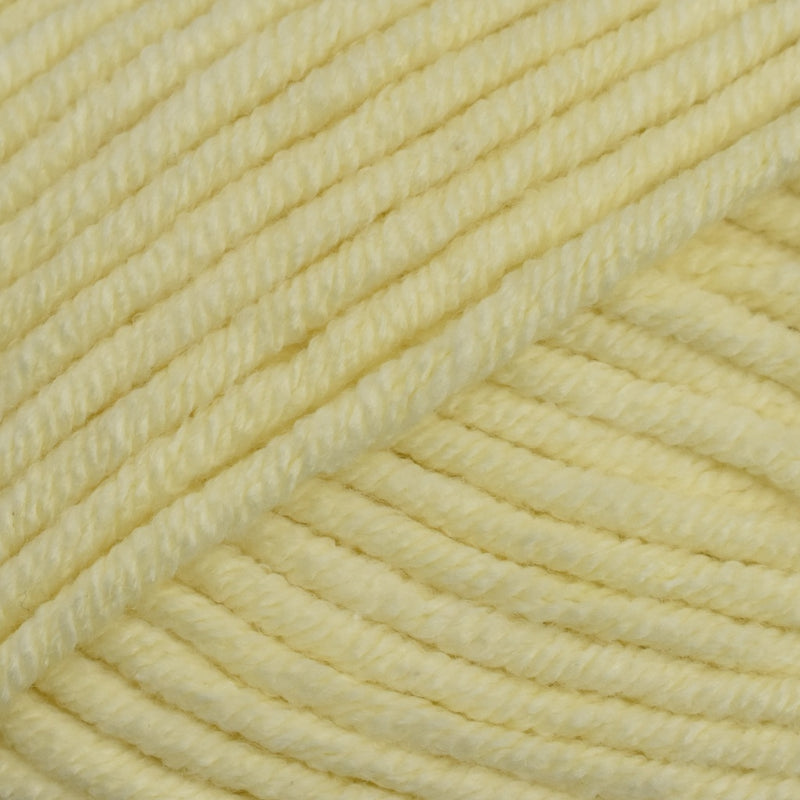
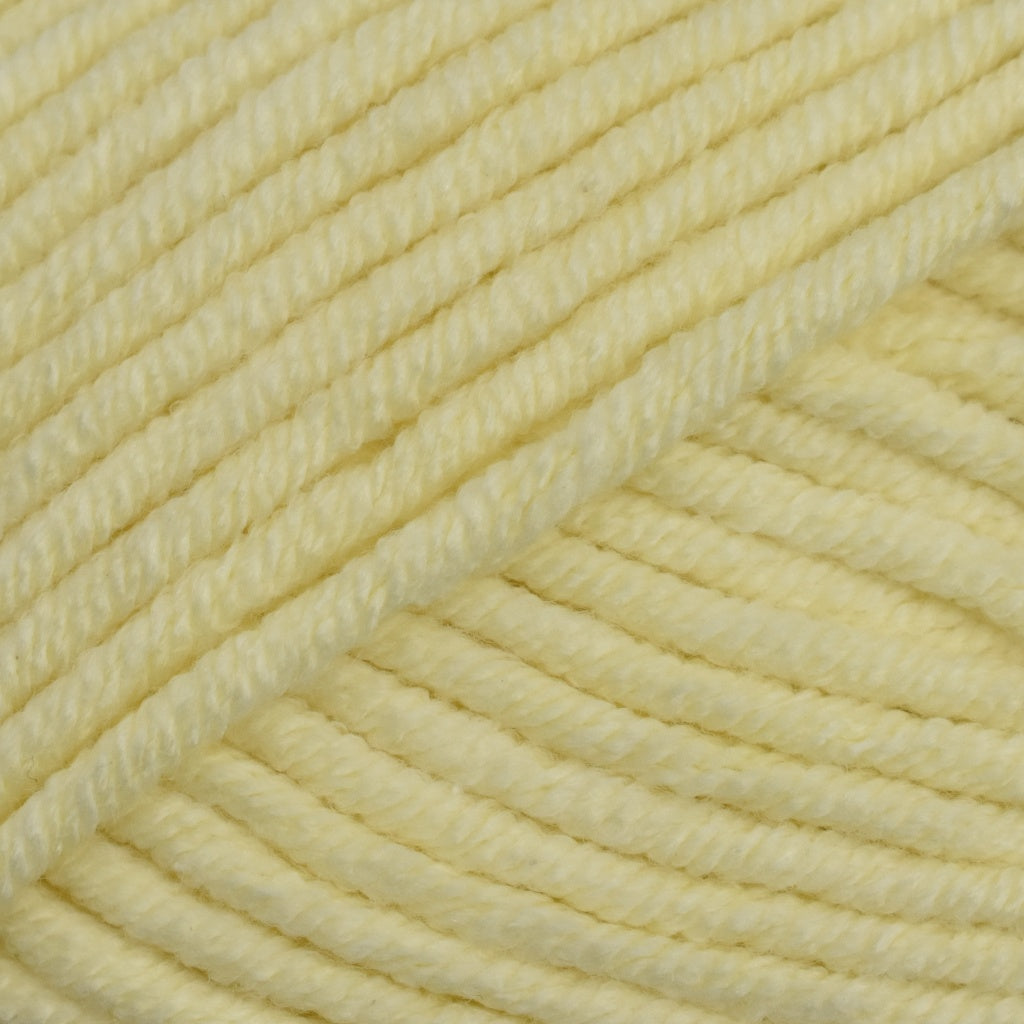
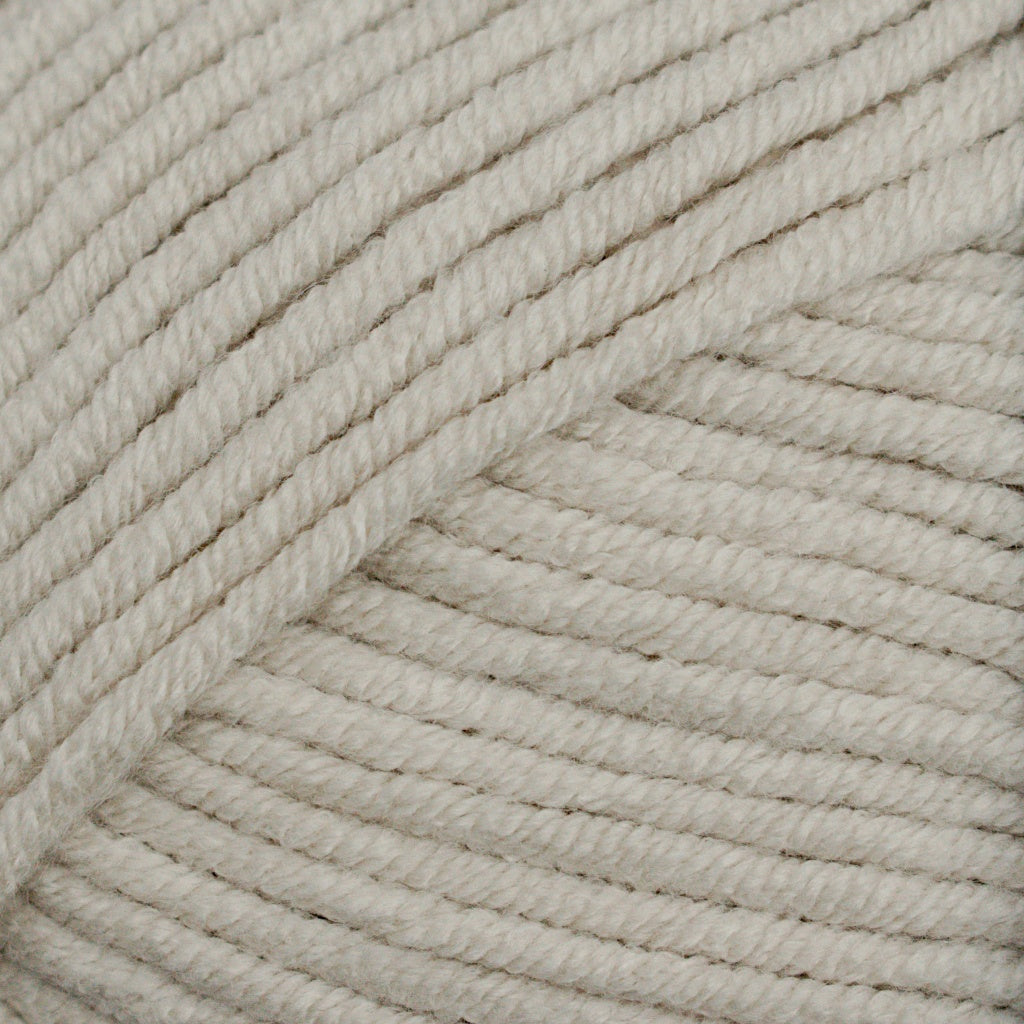
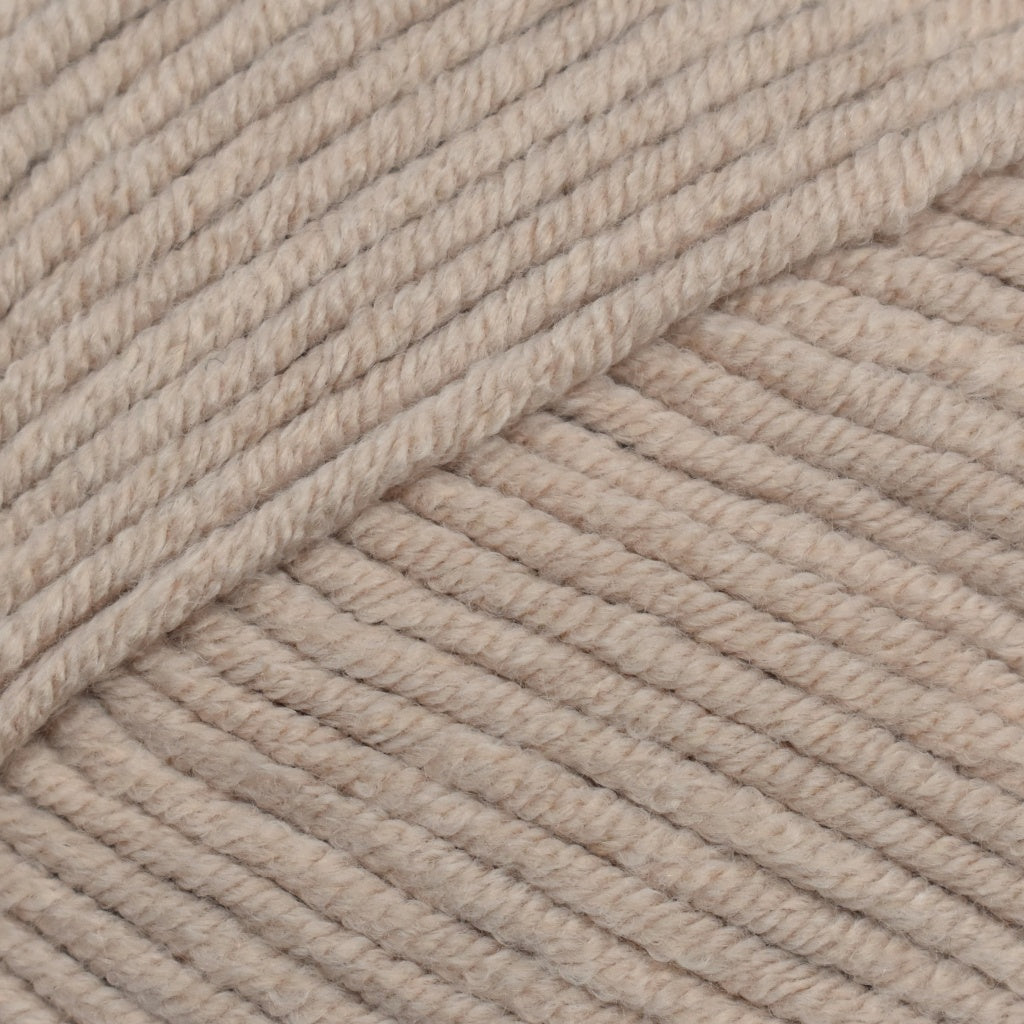
3.5 meters of Custard Colour -3 g
If you buy 1 x 50 g ball you will be able to make 2 can cosies from it.
TOOLS:
6 mm crochet hook (J-10 US size)
Scissors, yarn needle, stitch marker.
Any smaller size hook for surface slip stitch.
GAUGE:
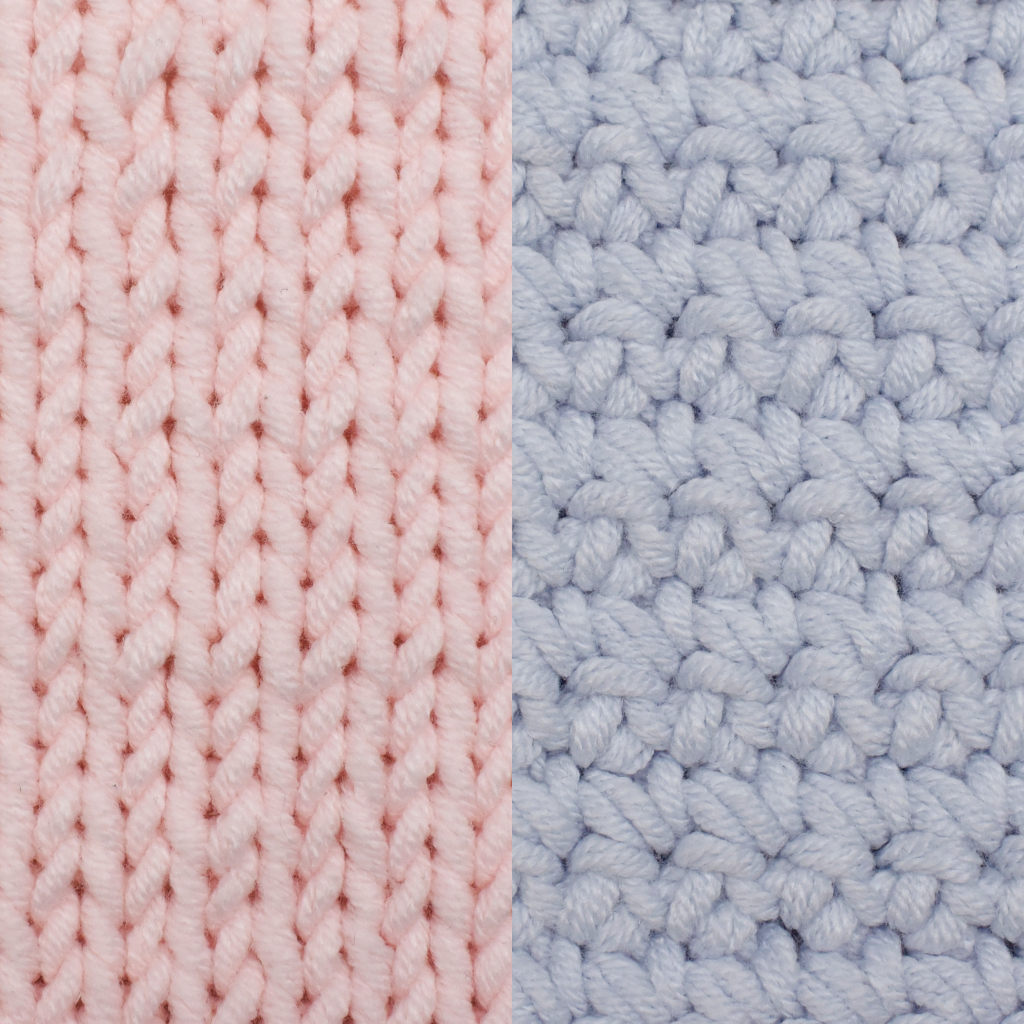
10 dc x 14 rows crocheted in a spiral round.
CROCHET TERMS: UK Crochet terms.
If you follow US crochet terms, remember that UK’s double crochet (dc) is the same stitch as single crochet (sc) in US terms.
ABBREVIATIONS:
Dc – Double Crochet
Ch – Chain
Sts – Stitches
CF - Candy Floss Colour
C – Custard Colour
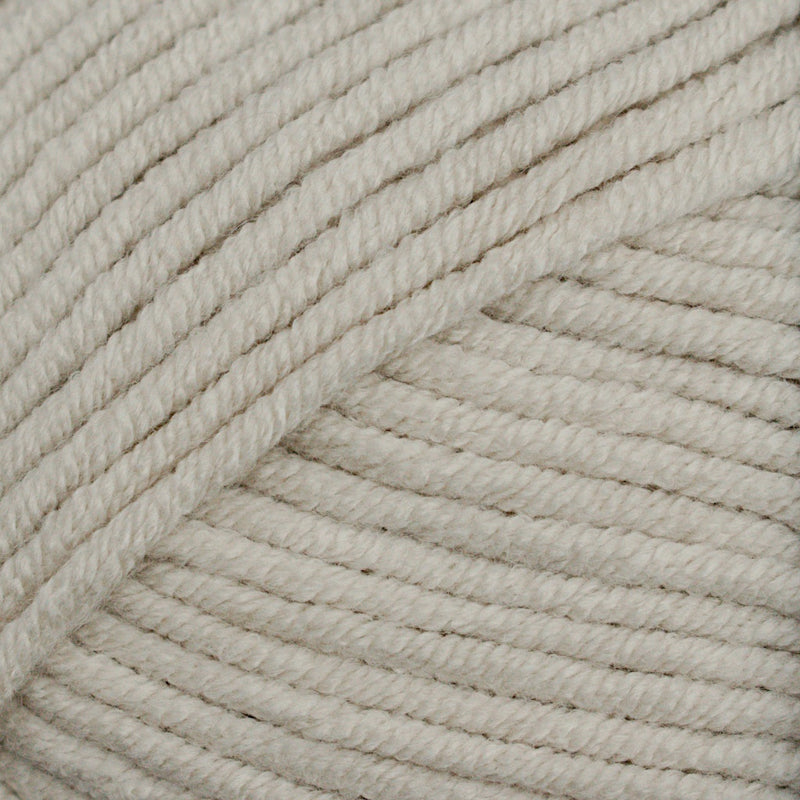
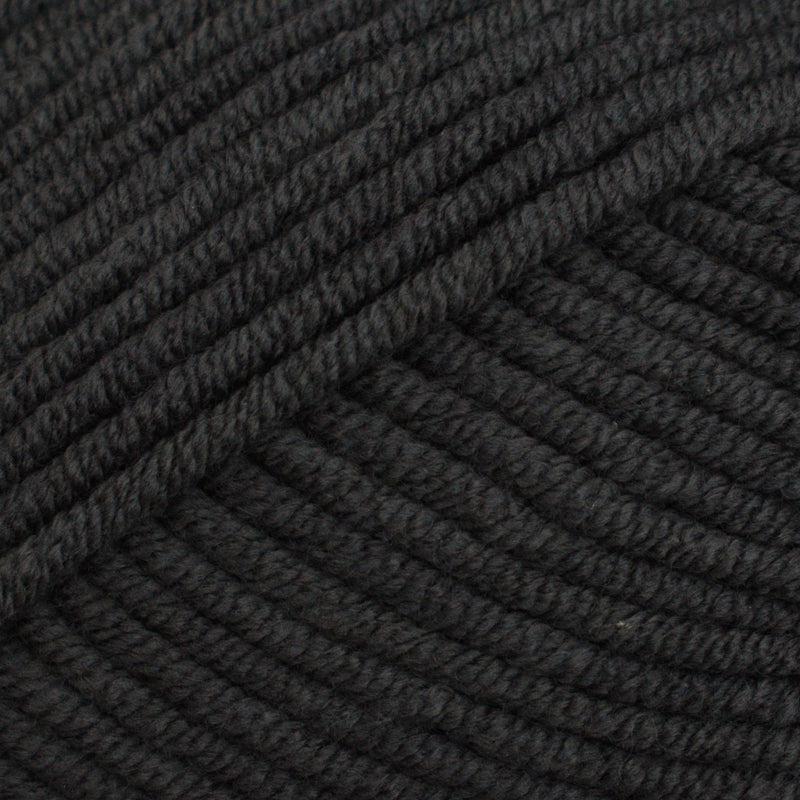
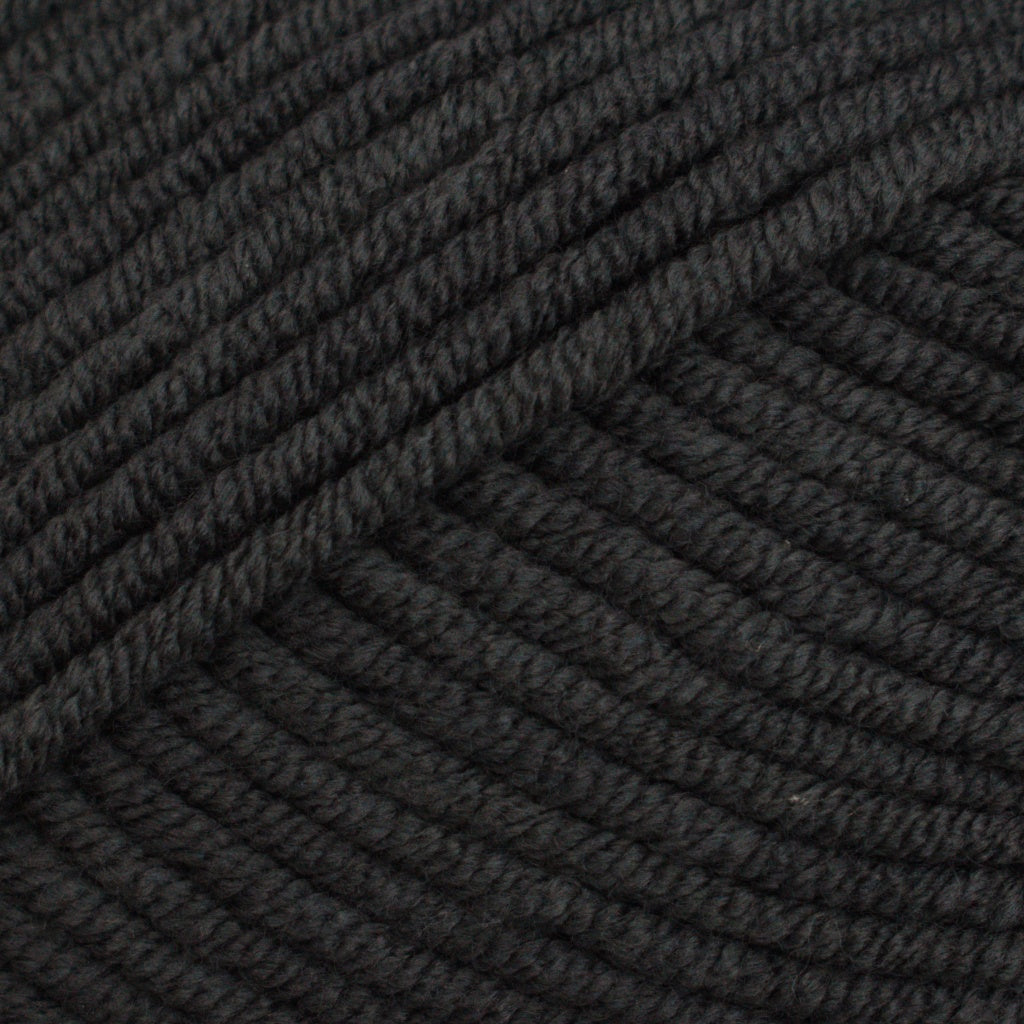
P – Peppercorn Colour
CROCHETING DIRECTION:
Can holder is crocheted in a spiral round.
When you crochet in a Spiral Round, attach a stitch marker on the last stitch at the end of each round and move it up on the last stitch of each round as you make them. Alternatively, always mark the first st with the stitch marker instead of the last st. At the end of each round, do NOT join to the first st of the round and do NOT make a starting chain before starting a new round. Work first st of the new round directly on top of the first st from the previous round.

CAN OR CUP COSY CROCHET PATTERN:
Using Candy Floss colour, make a magic ring.
Row 1: 1 ch, 6 dc in the centre of a magic ring. (6 sts)
Row 2: 2 dc in each stitch around. (12 sts)
Row 3: [2 dc in next st, dc in next st] x 6. (18 sts)
Row 4: [2 dc in next st, dc in next 2 sts] x 6. (24 sts)
The base of the cosy is ready. Continue to crochet in a spiral round until your reach the height you need. From now on, each row will have the same number of stitches - 24.
You can make all of the following 13 rows (row 5 to row 17) in the same colour or create an emoji face using the written pattern or picture chart below.
The rest of the pattern for the plain can cosy is:
Row 5-17: Dc in each stitch around. (24 sts)
Picture chart for Emoji can cosy crochet pattern:

Written Instruction for the picture chart of Emoji Can Cosy Crochet Pattern:
Row 5: (CF) x 24 (24 sts)
Row 6: (CF) x 24 (24 sts)
Row 7: (CF) x 24 (24 sts)
Row 8: (CF) x 10, (C) x 4, (CF) x 10 (24 sts)
Row 9: (CF) x 9, (C) x 6, (CF) x 9 (24 sts)
Row 10: (CF) x 8, (C) x 8, (CF) x 8 (24 sts)
Row 11: (CF) x 8, (C) x 8, (CF) x 8 (24 sts)
I’ve inserted a colour change for the eyes in P – Peppercorn colour in the next row. If it’s easier, you can make those stitches in Custard colour and embroider the eyes in those spaces later instead.
Row 12: (CF) x 8, (C) x 2, (P) x 1, (C) x 2, (P) x 1, (C) x 2, (CF) x 8 (24 sts)
Row 13: (CF) x 9, (C) x 6, (CF) x 9 (24 sts)
Row 14: (CF) x 10, (C) x 4, (CF) x 10 (24 sts)
Row 15: (CF) x 24 (24 sts)
Row 16: (CF) x 24 (24 sts)
Row 17: (CF) x 24 (24 sts)
Fasten off using the invisible fasten off method for the best finish.
Turn your crochet can cosy to the wrong side and weave in all the ends.
Using embroidery thread and a smaller size hook (for example, 3.5 mm) surface slip stitch a smile over rows 9 and 10.

If you didn’t make the eye colour changes in row 12, embroider them using embroidery thread. I’ve embroidered the little hearts instead of eyes using red embroidery floss.
To make the emoji stand out and make the line between the colour changes 'cleaner' I've done a border with surface slip stiches.

Remember we are adding a new crochet pattern at least once a week! Subscribe to our newsletter to get the information about new patterns straight in your inbox.
Like this pattern? Please share on social media with your crochet friends.


Crochet Arcade


Dreamy Wool
Crochet Arcade


Crochet Arcade
Crochet Arcade

Crochet Arcade

Dreamy Wool
Crochet Arcade